Fences are not merely functional; they can enhance your outdoor space’s aesthetic appeal and property value. Fence staining and sealing are essential processes to preserve and transform wooden fences. This guide will walk you through understanding the benefits of fencing, choosing the right stain, and applying a protective seal to ensure longevity and beauty for years to come. From color options to maintenance tips, we’ve got you covered.
- Understanding Fence Staining: Benefits and Types
- Preparing Your Wooden Fence for Staining
- Choosing the Right Stain: Color Options and Applications
- Sealing for Durability: Steps and Maintenance Tips
Understanding Fence Staining: Benefits and Types
Fence staining is an essential process that enhances the aesthetics and longevity of wooden fences. By applying a protective coat, it not only improves the visual appeal but also safeguards the fence from environmental factors like UV rays, moisture, and harsh weather conditions. The benefits are twofold; it preserves the natural wood grain while offering a wide range of color options to suit individual preferences.
There are primarily three types of fence staining techniques: semi-transparent, transparent, and solid or opaque. Semi-transparent stains allow some wood grain to show through, providing a subtle enhancement. Transparent stains offer better protection as they fill in the pores of the wood, creating a more even finish. Solid stains, on the other hand, provide the most coverage and are ideal for those seeking dramatic color changes or complete camouflage of the natural wood appearance.
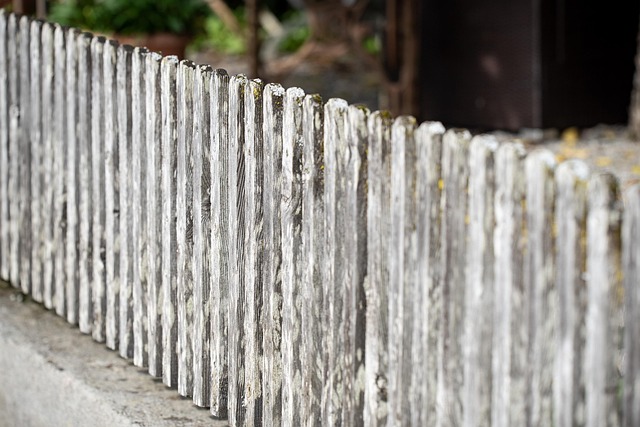
Preparing Your Wooden Fence for Staining
Before applying any stain or sealer to your wooden fence, proper preparation is key. Start by cleaning the fence thoroughly with a pressure washer or a stiff-bristled brush to remove any dirt, dust, and debris. This step ensures that the surface is free from contaminants that could interfere with adhesion. After cleaning, inspect the fence for any damaged or rotten sections. Repair or replace these areas to ensure the longevity of your fence.
Next, sand the fence gently to create a rough texture. This process helps the stain penetrate deeper into the wood grain, enhancing the overall finish. Remove any loose particles and dust with a damp cloth or vacuum after sanding. Finally, ensure the fence is dry to the touch before proceeding to the staining step.
Choosing the Right Stain: Color Options and Applications
Choosing the right stain is an essential step in fence staining and sealing. The first consideration is color; options range from natural wood tones to vibrant, bold shades. It’s important to select a hue that complements your home’s exterior and personal aesthetic. Before making a decision, sample different colors on a small section of the fence to visualize how they look under various lighting conditions throughout the day.
Additionally, understand the intended application of the stain. Some formulas are designed for enhancing wood grain, while others offer a more even, satin finish. Water-based stains tend to be less toxic and easier to apply, making them popular choices for DIY projects. Oil-based stains, on the other hand, provide deeper colors and greater protection against UV exposure but may require more time and expertise for proper application.
Sealing for Durability: Steps and Maintenance Tips
Sealing your wooden fence is an essential step to ensure its longevity and protect it from the elements. It creates a protective barrier, preventing water absorption and decay, which are primary causes of wood rot. The process involves several simple steps. First, clean the fence thoroughly to remove any dirt, dust, or debris using a pressure washer or brush. This ensures the sealant adheres properly. Next, repair any damaged or loose boards and fill in any gaps with suitable filler. Once dry, sand the surface lightly to create a rough texture, allowing better sealant penetration.
For application, follow the manufacturer’s instructions for the chosen sealant. Typically, this involves brushing or rolling on the sealant evenly across the wood. Allow it to dry completely, usually within a few hours, and then apply a second coat for added protection. Regular maintenance includes reapplying sealant every 1-3 years, depending on exposure to weather conditions. Inspect your fence periodically for any signs of wear or damage and address them promptly to maintain its aesthetic appeal and structural integrity.